Moving into a home that's been unoccupied for a few years does have its disadvantages; namely yardwork! Although our neighborhood is entirely desert landscaping, that doesn't mean that our yard full of desert shrubs and bare dirt fits in here. The current "landscaping" is ugly to say the least and it's one of the things that we're most excited about improving!!
Our biggest challenge so far has been the creosote bushes that cover the entire yard. A little background on the creosote: They're very interesting bushes that are native to the Arizona desert. They're very drought resistant and can live on little to no water for long periods of time. (That's probably why they're about the only plants that survived our home's empty years). They also live for a very long time. Creosotes average 100-200 years and there's one creosote in the Mojave Desert that has been carbon dated to 11,700 years old!!! That means that there is a bush on this earth that has been growing here since before the birth of Jesus. Amazing! Unfortunately, part of the reason that creosotes live so long is that their root systems compete with other plants for water (and usually win), so that makes them not the greatest garden plant.
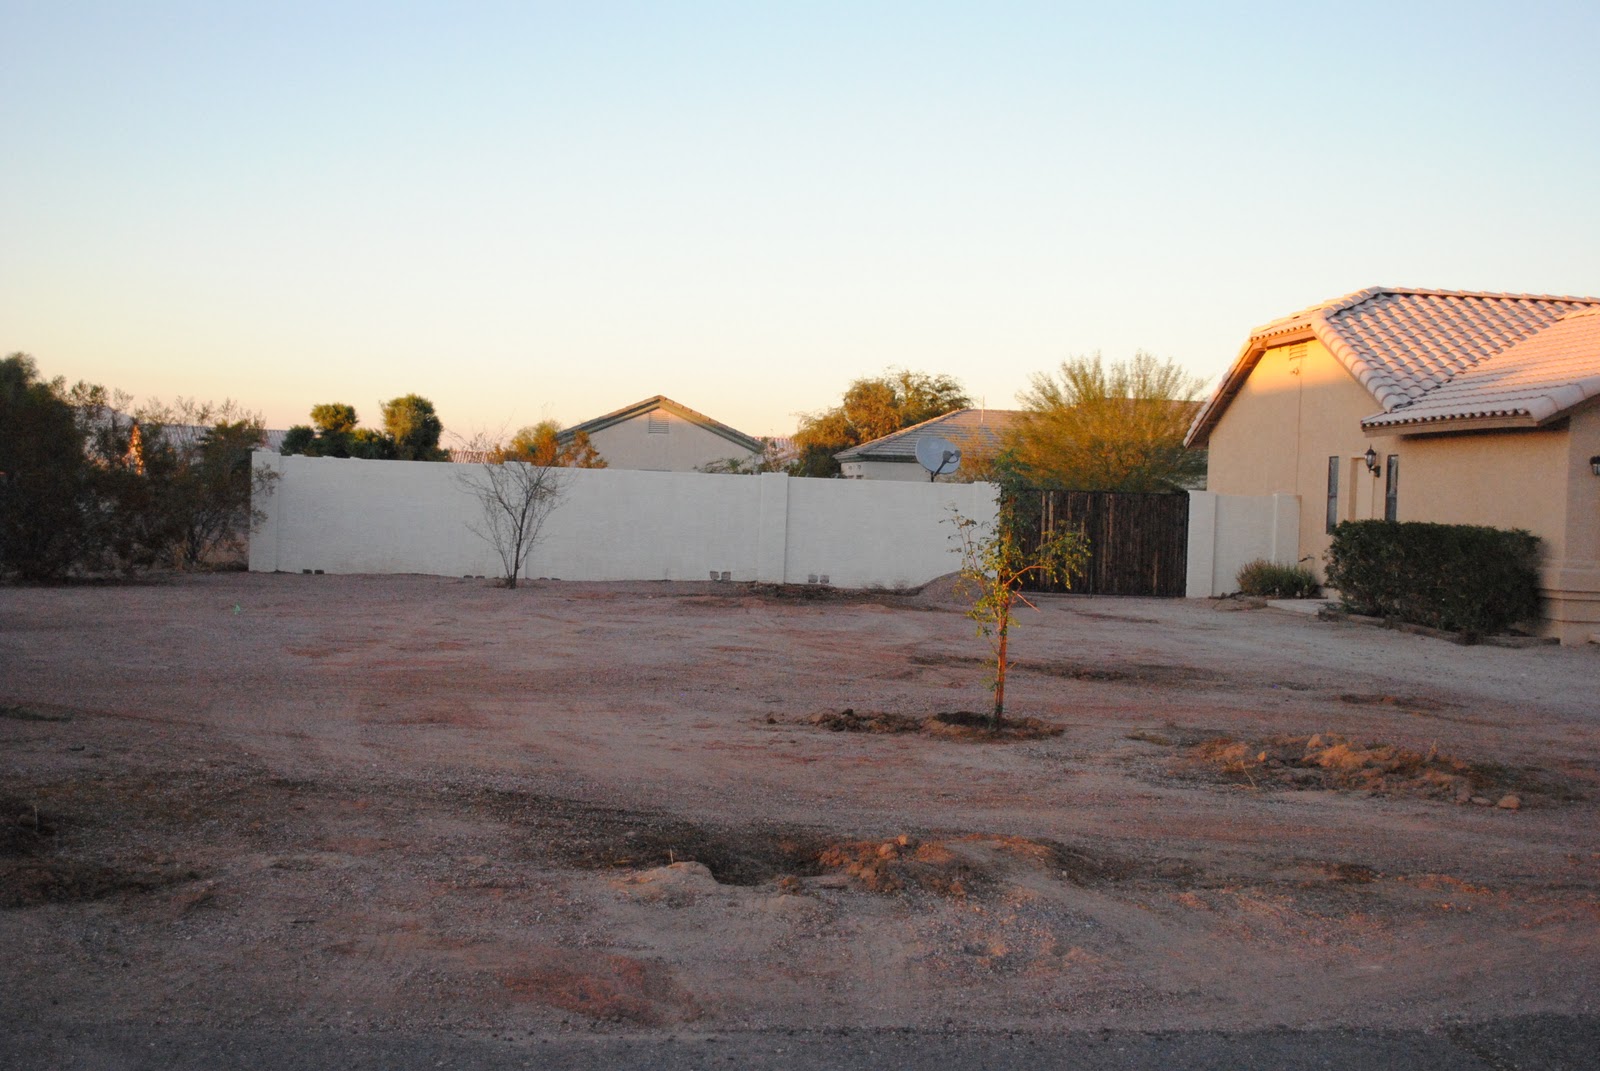
Enough about the creosotes. They're going to make it very hard for our planted trees and plants to survive, so they've gotta go! Here's the yard before we started:
See? Not very attractive.
Now for the big question: HOW do we get rid of them??? Joel and I are the DIY type and we don't like paying someone for work that we can do ourselves. The first time we took one of these suckers out we tried the "trim and dig" method. It took us two days and a LOT of hard work, but we took out our first creosote (and hopefully impressed the neighbor whose property it infringed on). After deciding that "trim and dig" might not be the quickest technique, my wonderful mother suggested pulling them out with the truck. Great idea...but would it work? The answer: YES! After neighbors confirmed that chains and a truck will indeed pull out a creosote, we decided to give it a try. Here we are in process:
Success! My mom's idea worked and, I have to admit, we had a great time tearing our yard apart. It was nice to finally use the truck for something tough. If I wasn't a Toyota Tacoma girl before, I am now! Here's the before and after:
...and the right side:
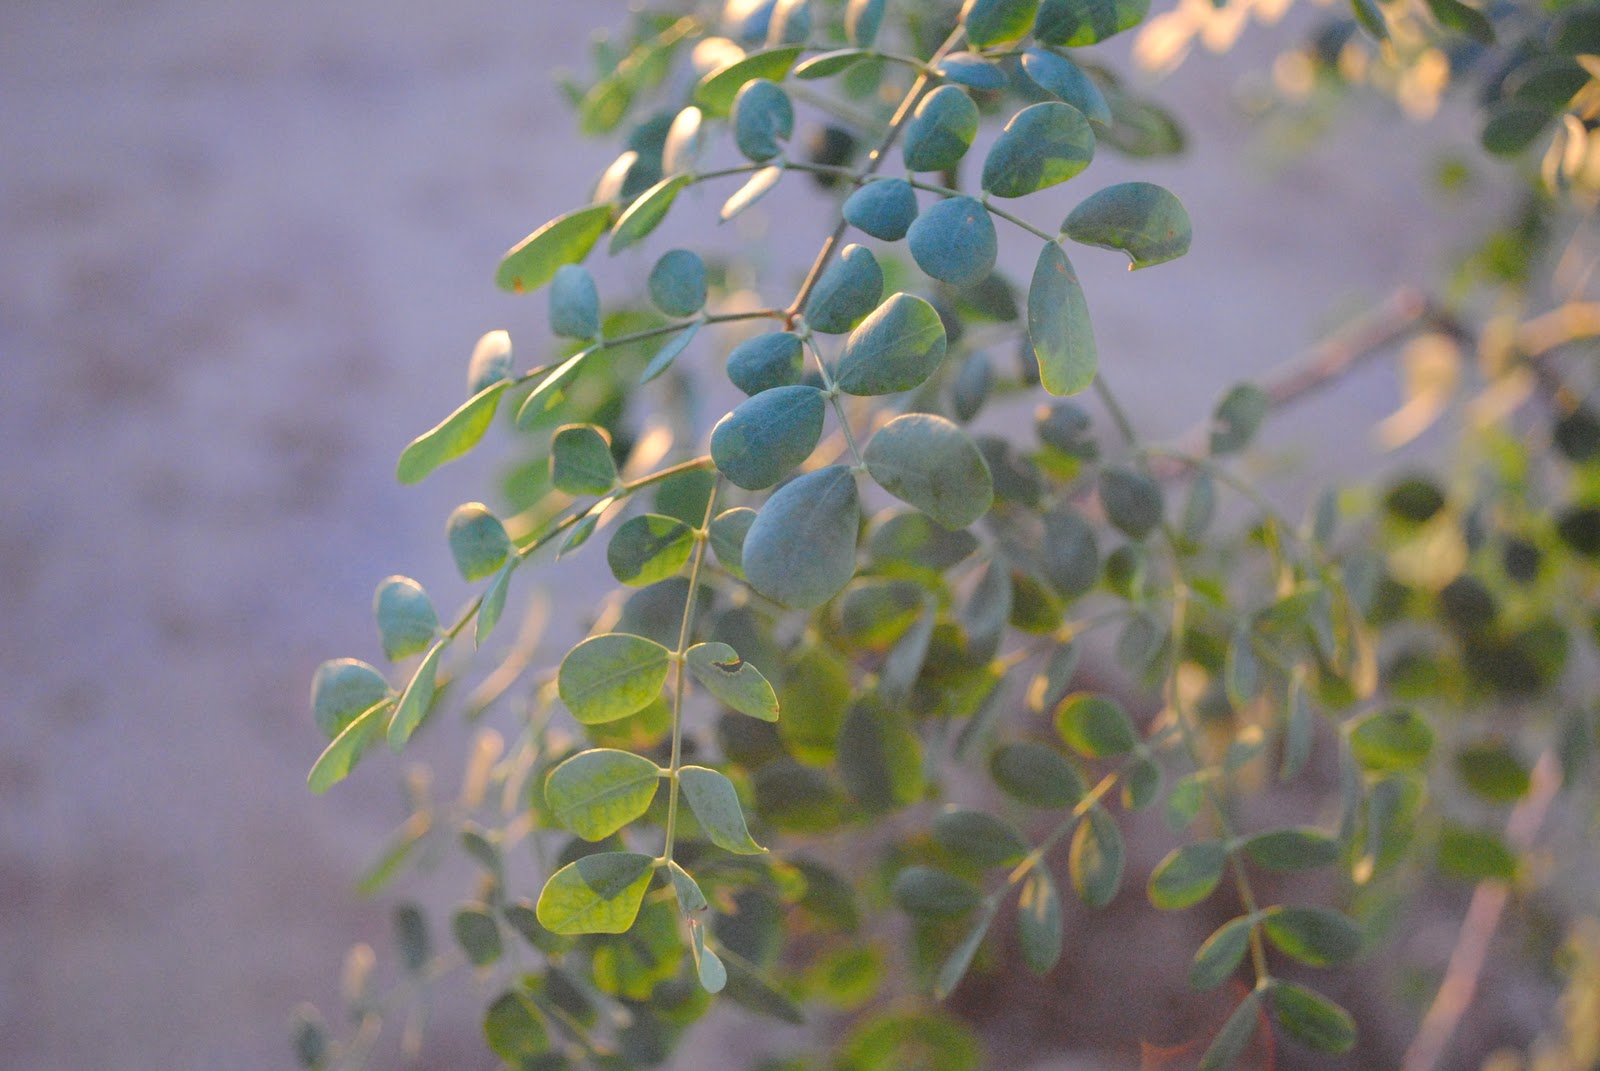
You might have noticed from the "after" pictures that today wasn't just about removing things. We also made 2 new additions to our yard. These are our new cascalote trees which we planted from 15 gal containers. They're slow growing trees so we wanted to get them into the ground ASAP to allow time for them to catch up to the other trees we plan on adding.
Our little baby trees might not look like much now, but in 5 years or so, they'll be these blooming beauties:
Now for our next challenge: hauling them all away!