Since our home went unloved for many years before we moved in, the hedge in front of the house became overgrown. Texas sage is a beautiful plant, but if it isn't pruned regularly, it becomes more of an eyesore than anything. Our hedge was huge and lopsided. It looked disproportionate to our entryway, but because it hadn't been trimmed much before, the insides of the bushes were brown and didn't have any leaves. Once a texas sage bush gets overgrown it's all but impossible to trim it back, so we decided that it had to go. We also used that opportunity to take out a few more creosotes!
Before:
After:
See the problem?
No?
Let's look closer...
Yeah. That's the spot that the painters missed on our house. Apparently when they repainted just before we moved in, they thought it was a good idea to paint AROUND the hedge?? Now that our hedge is gone, we're left with a big white spot on the main column right next to our front door!! Eek! And that's not the only spot:
There's THAT one. And many more! Since they also "forgot" to paint our fence, I guess we know what we'll be doing this spring!
Saturday, February 5, 2011
Friday, February 4, 2011
HOW cold is it?!?
25 degrees. Yes, that's right...in Phoenix! With temps dropping below freezing this year, we've had to cover all our cacti at night for the last week or so. It looks pretty ridiculous to have a yard covered in blankets and towels, but hopefully it will pay off when they all survive to spring! (pictures of that to follow soon!)
Despite the death threat that faces most of our desert native plants, we had a little surprise in our backyard a few nights back. A mystery plant that, until now, was just a group of little green nubs surprised us by throwing out a beautiful little flower!
What a nice little winter surpise :)
Despite the death threat that faces most of our desert native plants, we had a little surprise in our backyard a few nights back. A mystery plant that, until now, was just a group of little green nubs surprised us by throwing out a beautiful little flower!
What a nice little winter surpise :)
Bathroom Redo! (Before & During)
Sorry, no "after" pictures yet. :) After getting a little restless and anxious to do some more decorating, I decided to take on the 2nd bathroom! We're not sure what we want to do with the master bath yet, and since we have guests coming to visit in a few months this is a great room to warm up!
Before:
Don't get me wrong...I think the yellow looks nice in there. But....it also looks nice in every other room in the house! It's a great color and I'm sure that's why the previous owner chose it, but I'm getting a little yellowed out about now. This particular bathroom only has one tiny little window and tends to be a bit dark and cave-like, so I decided it needed to be lightened up a little to make it more inviting.
I chose Glidden's "Natural Wicker" as a medium beige but it ended up being more of a light beige. Still nice, but the room will definitely need some colorful accessories! The new paint (We'll call this the "during") :
....to this:
Love them! And now I'll be using that fabric as inspiration for the rest of the room!
Before:
Don't get me wrong...I think the yellow looks nice in there. But....it also looks nice in every other room in the house! It's a great color and I'm sure that's why the previous owner chose it, but I'm getting a little yellowed out about now. This particular bathroom only has one tiny little window and tends to be a bit dark and cave-like, so I decided it needed to be lightened up a little to make it more inviting.
I chose Glidden's "Natural Wicker" as a medium beige but it ended up being more of a light beige. Still nice, but the room will definitely need some colorful accessories! The new paint (We'll call this the "during") :
After putting all the hardware and switchplates back on the walls, I realized that those would be 2 very easy ways to give this room a new look. So I added these:
...and then I covered the switch plates with fabric to transform them from this:
Love them! And now I'll be using that fabric as inspiration for the rest of the room!
Monday, January 17, 2011
Clearance is my friend!
This morning, thanks to their mailing list, I discovered that West Elm actually has REAL stores! Up til now, I'd thought it was all online...but once I found out that they have a physical location, I had to visit it...NOW! I love home decorating stores, and Scottsdale's Kierland Commons did not disappoint. I stopped by Restoration Hardware, Crate & Barrel, AND Z Gallerie, all less than a block apart. If only I'd had more time! Since I was just killing a little bit of free-time before a meeting, I skimmed through the previously listed eye candy pretty quickly and rushed over to West Elm. I loved a lot of what I saw, but being the cheapskate that I am, it was the clearance that caught my eye. I'm a sucker for a good deal. I should rename this blog "Thrifty K's Adventures in Decorating"... Anyway, I ended up finding a 3x7 runner that's a nice cushy high-quality 100% wool and originally listed for $129.99 marked down to $34.99. With an additional 20% thanks to an ongoing sale, I ended up scoring this rug for only $28!! I wasn't sure where I was going to put it when I bought it, but I couldn't pass up the deal. Since it was too long for every other long skinny space in the house, this is where it landed.
Our walls are mostly bare, so I guess you could say that it *sort of* matches the rest of the decor. Maybe I'll have to find some wall art to coordinate?? Either way, walking down our main hall is much more pleasant now and the sparrows even grew on Joel once he walked on it a few times.
Going up!
After 5 months of bending over backward to wash my hair every morning, I finally found a solution to our way-too-low shower head. For some reason, the person who built our home decided to install the shower head about a foot below where normal people like it. As a result, Joel and I either have to a) not wash our hair (eww.) or b) contort our bodies into all kinds of weird positions just to get a little rinsing action. It got to be a real pain in the neck (pun intended), so when I saw this at Home Depot today, I was ecstatic:
Here's what a painful shower looks like (don't mind the boring curtain and outdated tub):
A few quick adjustments and tons of plumbing tape later, we ended up with this:
Can't wait to try it out! Not exactly the most eye-catching home improvement project, but it will certainly make life a little more pleasant as we save up for our future bathroom over-haul.
Here's what a painful shower looks like (don't mind the boring curtain and outdated tub):
A few quick adjustments and tons of plumbing tape later, we ended up with this:
Can't wait to try it out! Not exactly the most eye-catching home improvement project, but it will certainly make life a little more pleasant as we save up for our future bathroom over-haul.
Wednesday, November 17, 2010
Master Bedroom Redesign
Here is our master bedroom (minus the current clutter and "furniture"):
While I love the yellow paint that the previous owner used throughout the house, I'm not really into a yellow bedroom. Here's one of my ideas for our re-do:

Bedroom ideas by Kristine on Polyvore.com
What do you think? What color would you paint the walls given this color scheme?
Bedroom ideas by Kristine on Polyvore.com
What do you think? What color would you paint the walls given this color scheme?
Monday, November 1, 2010
Yardwork! Trucking along...
Moving into a home that's been unoccupied for a few years does have its disadvantages; namely yardwork! Although our neighborhood is entirely desert landscaping, that doesn't mean that our yard full of desert shrubs and bare dirt fits in here. The current "landscaping" is ugly to say the least and it's one of the things that we're most excited about improving!!
Our biggest challenge so far has been the creosote bushes that cover the entire yard. A little background on the creosote: They're very interesting bushes that are native to the Arizona desert. They're very drought resistant and can live on little to no water for long periods of time. (That's probably why they're about the only plants that survived our home's empty years). They also live for a very long time. Creosotes average 100-200 years and there's one creosote in the Mojave Desert that has been carbon dated to 11,700 years old!!! That means that there is a bush on this earth that has been growing here since before the birth of Jesus. Amazing! Unfortunately, part of the reason that creosotes live so long is that their root systems compete with other plants for water (and usually win), so that makes them not the greatest garden plant.
Enough about the creosotes. They're going to make it very hard for our planted trees and plants to survive, so they've gotta go! Here's the yard before we started:
Our biggest challenge so far has been the creosote bushes that cover the entire yard. A little background on the creosote: They're very interesting bushes that are native to the Arizona desert. They're very drought resistant and can live on little to no water for long periods of time. (That's probably why they're about the only plants that survived our home's empty years). They also live for a very long time. Creosotes average 100-200 years and there's one creosote in the Mojave Desert that has been carbon dated to 11,700 years old!!! That means that there is a bush on this earth that has been growing here since before the birth of Jesus. Amazing! Unfortunately, part of the reason that creosotes live so long is that their root systems compete with other plants for water (and usually win), so that makes them not the greatest garden plant.
Enough about the creosotes. They're going to make it very hard for our planted trees and plants to survive, so they've gotta go! Here's the yard before we started:
See? Not very attractive.
Now for the big question: HOW do we get rid of them??? Joel and I are the DIY type and we don't like paying someone for work that we can do ourselves. The first time we took one of these suckers out we tried the "trim and dig" method. It took us two days and a LOT of hard work, but we took out our first creosote (and hopefully impressed the neighbor whose property it infringed on). After deciding that "trim and dig" might not be the quickest technique, my wonderful mother suggested pulling them out with the truck. Great idea...but would it work? The answer: YES! After neighbors confirmed that chains and a truck will indeed pull out a creosote, we decided to give it a try. Here we are in process:
Success! My mom's idea worked and, I have to admit, we had a great time tearing our yard apart. It was nice to finally use the truck for something tough. If I wasn't a Toyota Tacoma girl before, I am now! Here's the before and after:
...and the right side:
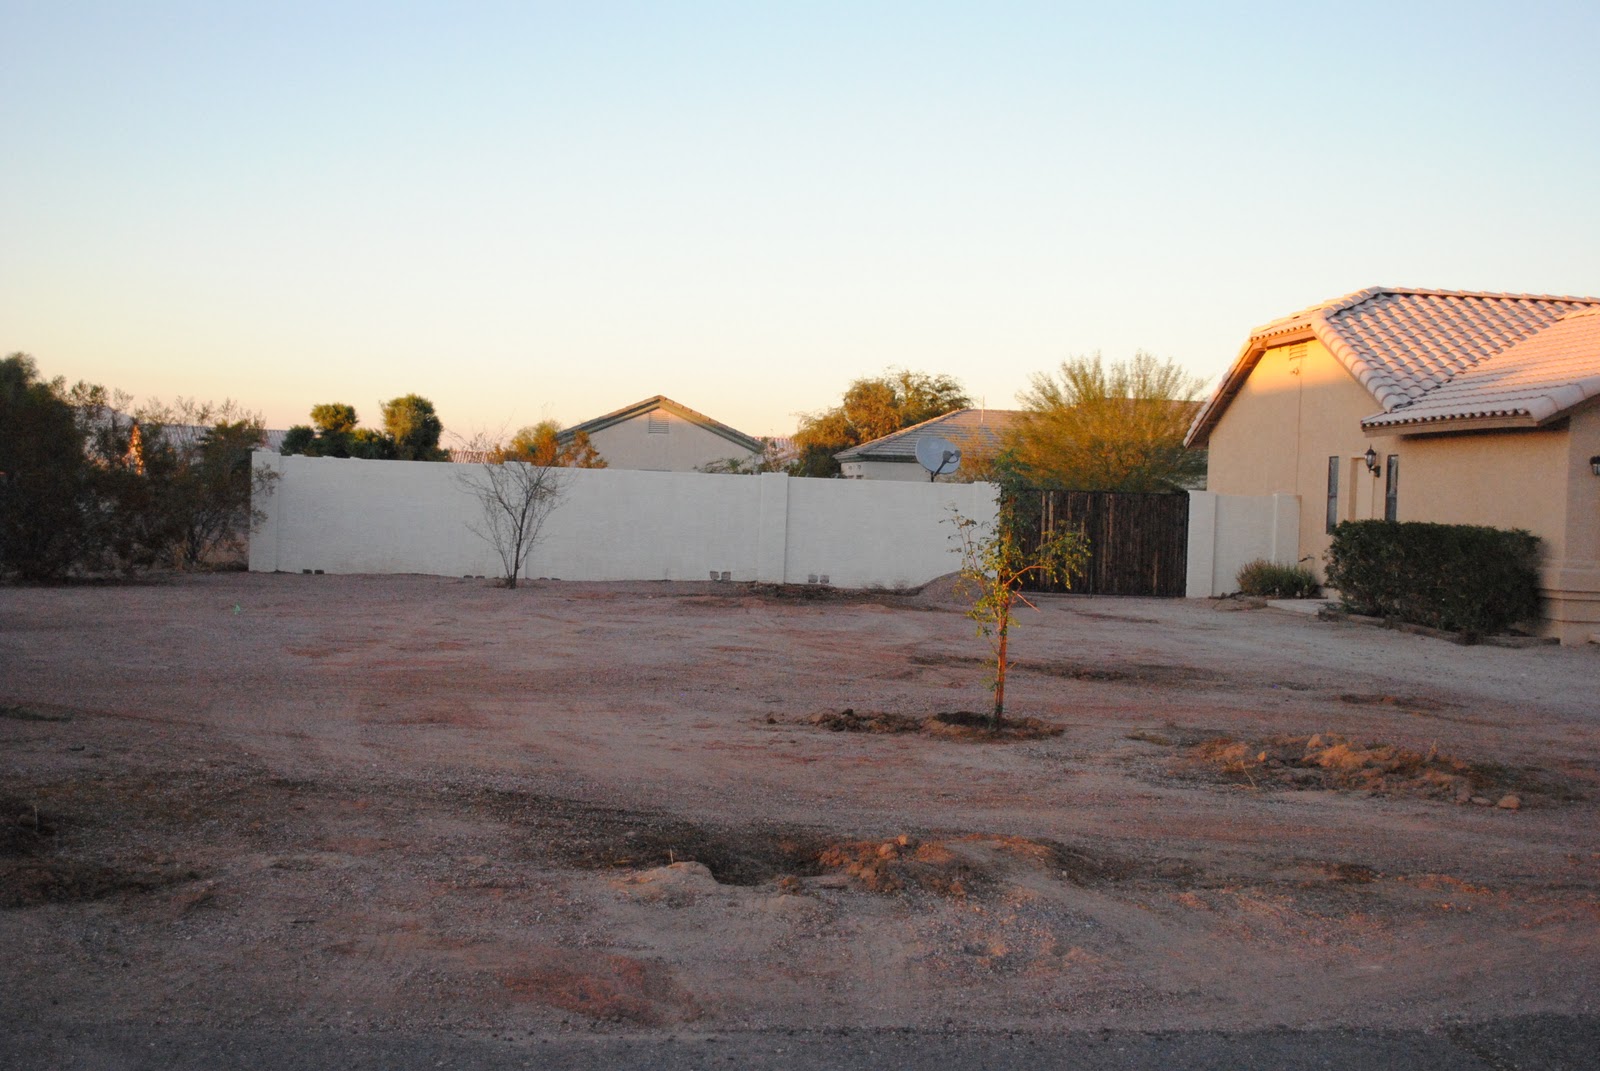
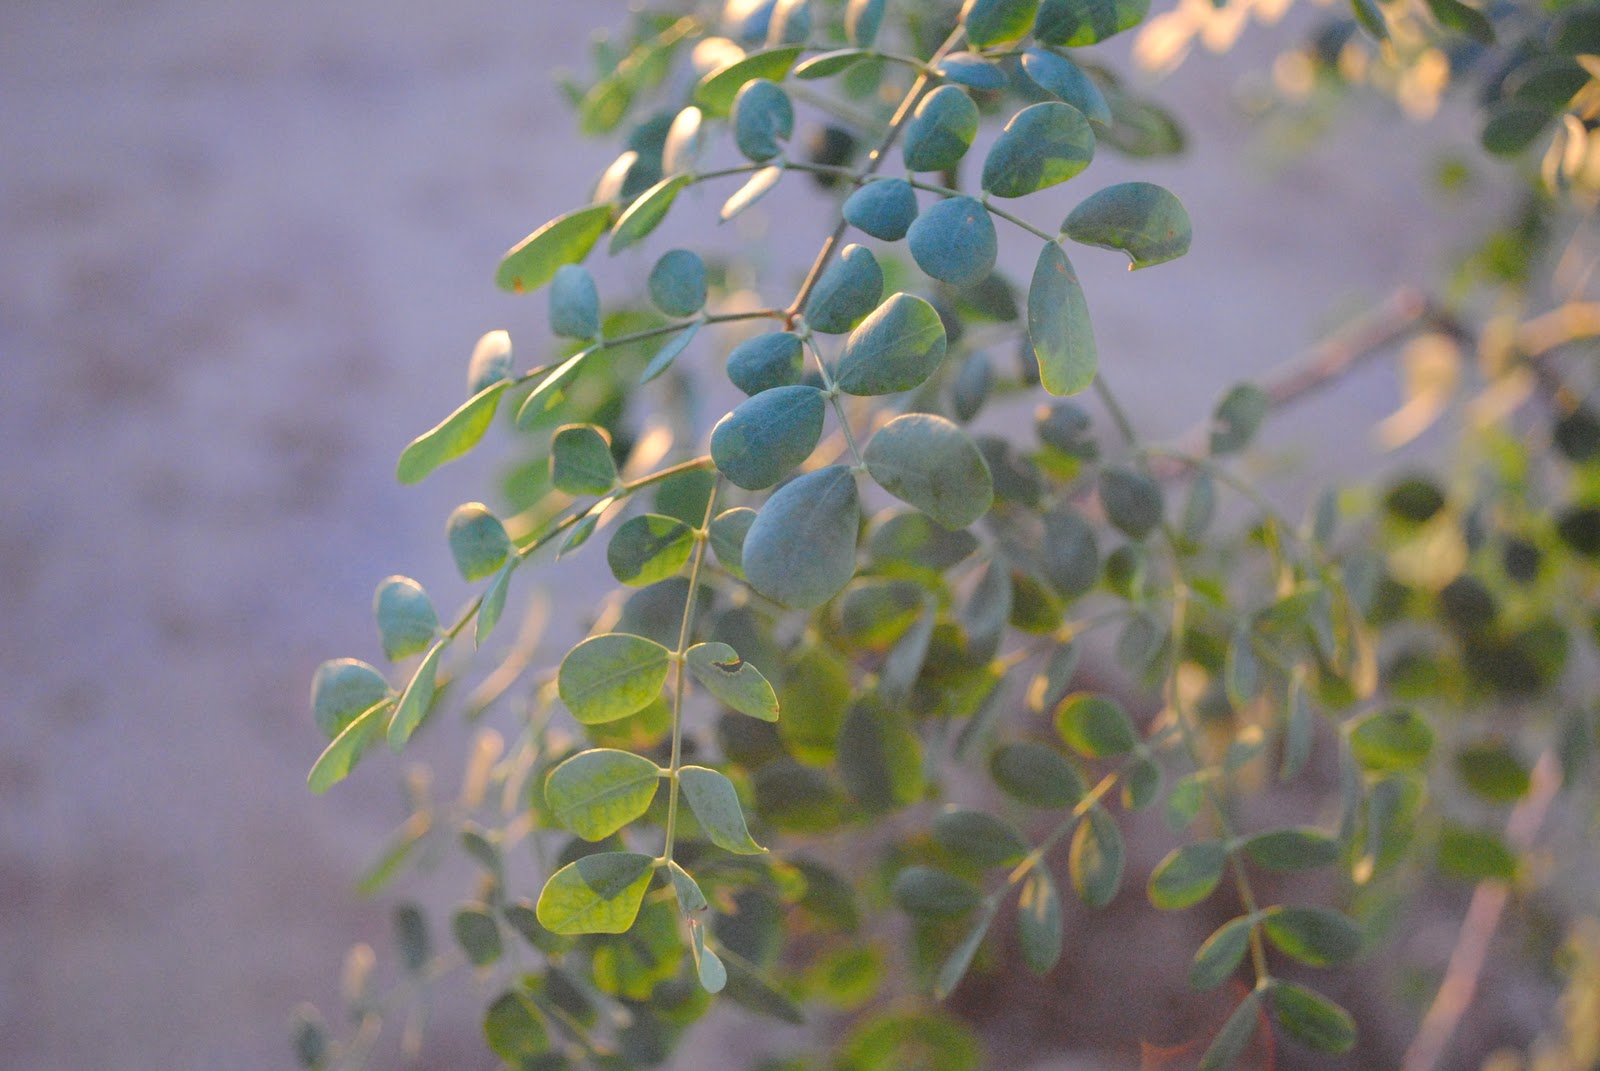
You might have noticed from the "after" pictures that today wasn't just about removing things. We also made 2 new additions to our yard. These are our new cascalote trees which we planted from 15 gal containers. They're slow growing trees so we wanted to get them into the ground ASAP to allow time for them to catch up to the other trees we plan on adding.
Our little baby trees might not look like much now, but in 5 years or so, they'll be these blooming beauties:
Now for our next challenge: hauling them all away!
Subscribe to:
Posts (Atom)